
Once you start to use and understand the Files app, you’ll begin to unlock the full potential of your iPad
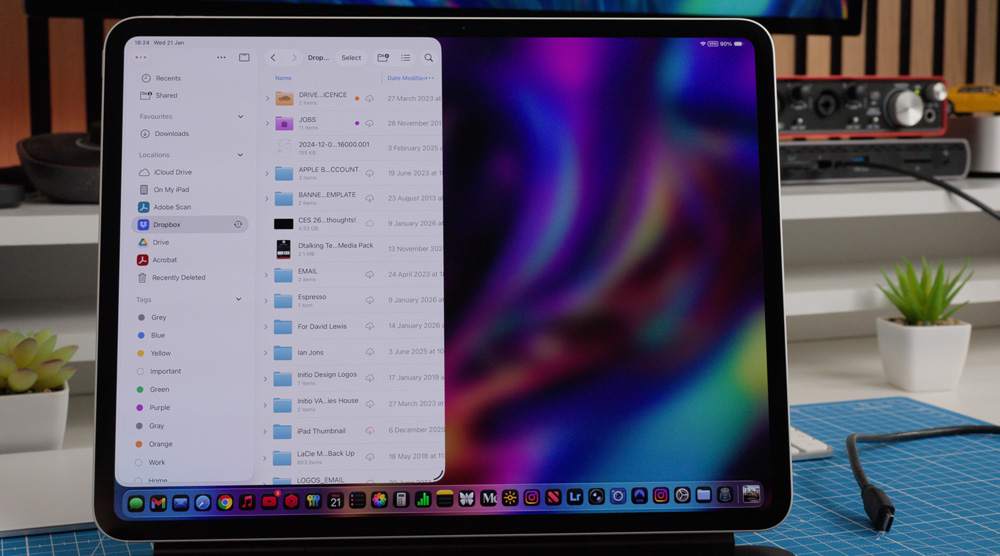
If you’ve just started to pick up your iPad again and started to use it, I mean, really use it daily as your main device, then it won’t be long until you need to learn how to manage the files that you’ll be creating.
And the good news is that with iPadOS 26, it’s never been easier to work productively and efficiently on an iPad, and much of that is to do with one seemingly innocuous, simple app that you’ve probably given little thought to.
Let me introduce you to your new best friend – the Files app.
Once you understand what it is and how it can help you work on your iPad, I bet you’ll want to spend more time working on it. Sure, most everything I do on my iPad I could do on my Macs, but that’s not the point.
There are days it’s more convenient for me to work on my iPad, and there are other days I simply fancy a change and want to grab it, but now, when I do that, I’m no longer sacrificing how much work I can get through or how productive I can be.
And all that changed once I spent some time getting familiar with the Files app.
The iPad is not a Mac
It’s odd that after all this time, we still have to state the obvious and defend the iPad.
It isn’t a poor imitation of a Mac. It’s not trying to be a Mac, and it never should be. It’s fine as it is if you ask me. It’s that third way of working. That said, the recent changes that we’ve seen to the iPad have been very welcome indeed.
If you’re used to working on a Mac, now you’ll find the switch to iPad easy, seamless and familiar. Many of the little details we like on a Mac are now part of working on an iPad, which makes it fit ever so neatly into any Mac or Apple workflow.
Recently, I remember writing a piece where I suggested that you put the Files app in your dock, which I stand by. It’s not just an aesthetic suggestion; it’s key to being productive day-to-day.
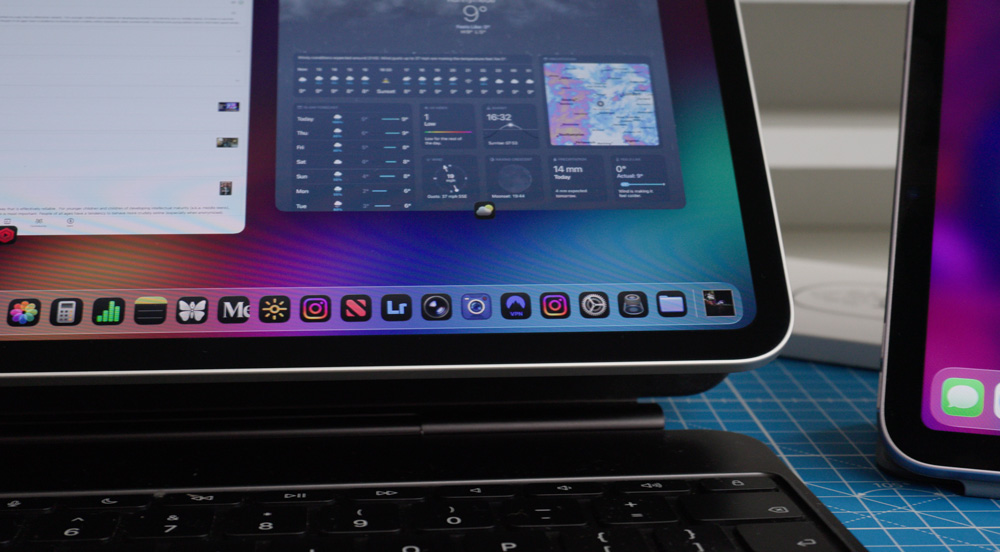
There will be times, for instance, when you’re dragging and dropping files (yes, you can do that on an iPad now!), when you’ll need two Files windows open, and the quickest way to do that is to have the Files app in your dock. You should spend some time making the dock tailored to your needs anyway, but if you want my advice, be sure to add the Files app down there.
Having two instances of the same app open is easy, and, as with everything on the iPad, there is more than one way to do things. With one window already open and set to one side of your screen, you can tap, hold and drag the Files app icon to the other side of the screen, let go once in place, and it’ll create another window for you.
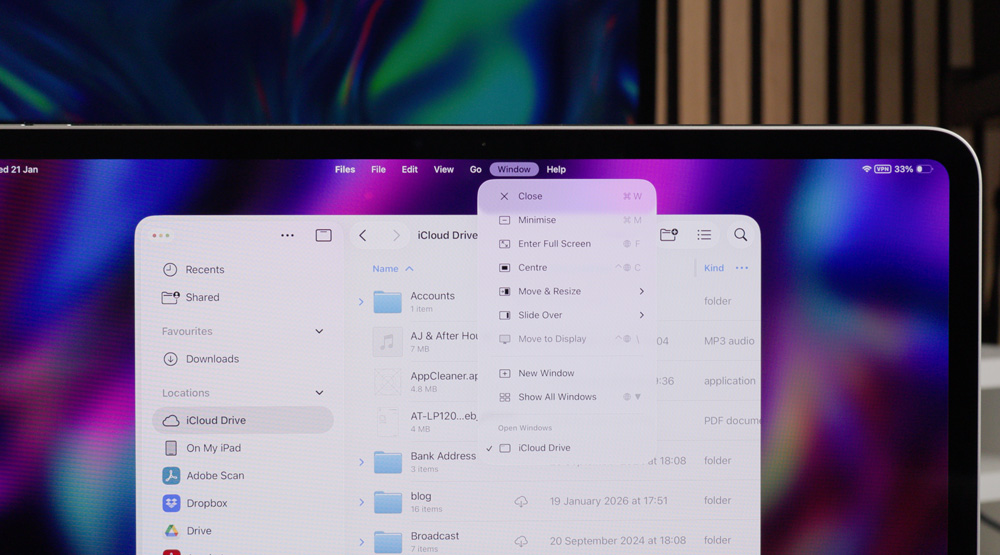
Or, if you’d rather, with that first window open, you could go to the app menu that you get now as part of iOS26. To find this Mac-like menu, all you need to do is drag down from the top of the iPads screen, then go to Window and then New Window.
I’ll come back to why that is so handy a little later.
Hello files – there you are!
The Files app has a sidebar that is very similar to the sidebar you’ll find in your Mac’s Finder. And just like its Mac counterpart, you can edit it to suit your needs.
If you don’t see the sidebar when you first launch the Files app, you’ll find an icon at the top, just to the left of the word Recent. Tap that, and your sidebar will appear.
You’ll notice there are three dots at the top of your sidebar, which offer you some options, one of which will be ‘edit’. You then get to choose what options, folders and apps appear in your sidebar.
You’ll notice that you can remove your cloud storage apps from the sidebar, but if I were you, I’d leave them there. I find it far easier to use Dropbox in the sidebar than with the Dropbox app. Try it for yourself, and I’m sure you’ll see what I mean. The sidebar option certainly wins when it comes to moving files around.
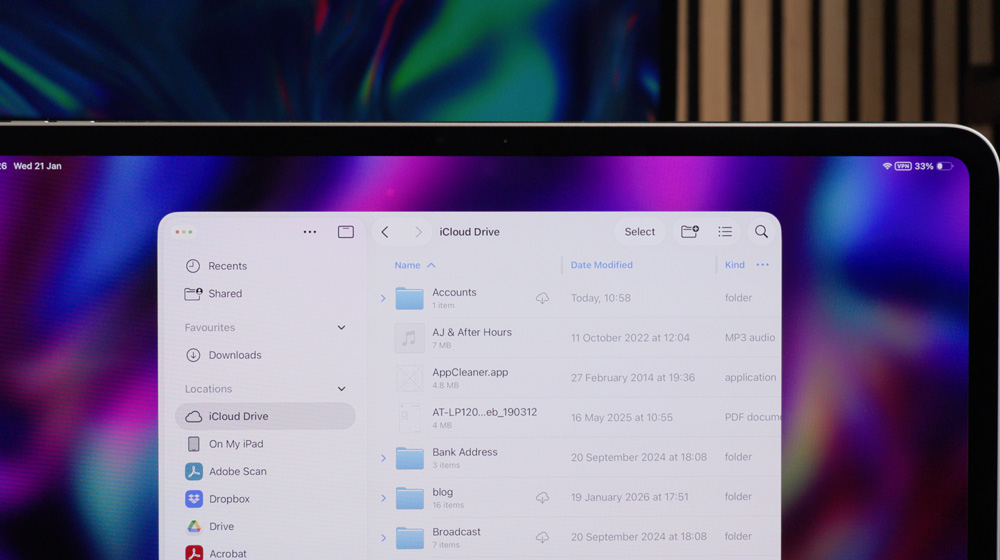
Also, you’ll see the downloads folder in the sidebar – you need to know where that is to get the most from using your iPad…so make a mental note!
One of the options that you’ll see in the sidebar is On My iPad. As far as I can tell, that is a legacy from the iPad of old. Once upon a time, if you created a file in a certain app, that is where it would get stored.
But now we have the option to save files wherever we want, I think the On My iPad option is redundant. I’d consider removing it from your sidebar altogether, which is what I’ve recently done. I’ve never used it!
Of course, you can change the view of the Files app as well.
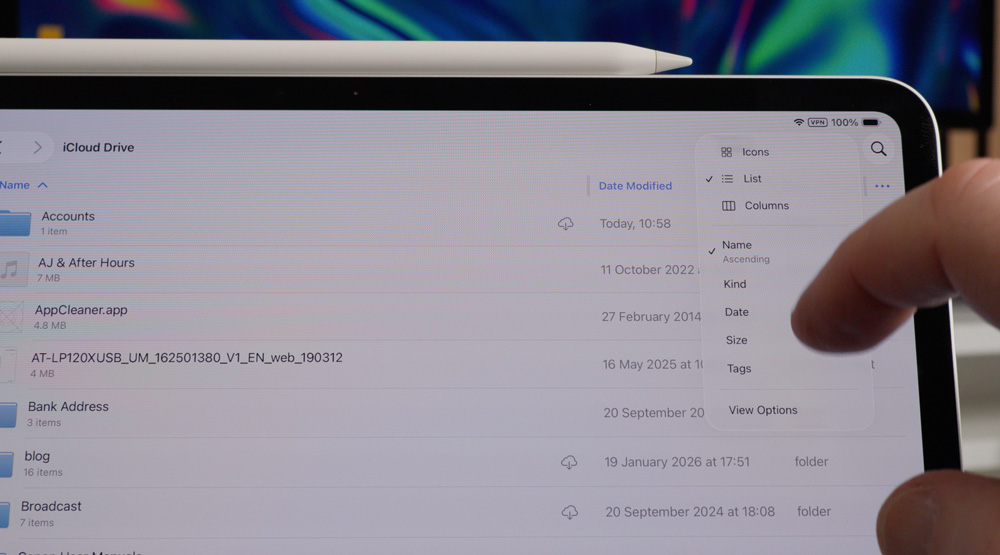
Tapping the three dots in the top right of your screen will open up the options to view it as a list, icons, or columns. Then of course, you can also decide how you want to arrange your files – by date, size or file type, etc. You can add tags as well, which has become more relevant now in iPadOS 26.
I’ll talk about why tags are so handy later.
Email attachments
This is something that the iPad used to struggle with, but now it’s super simple.
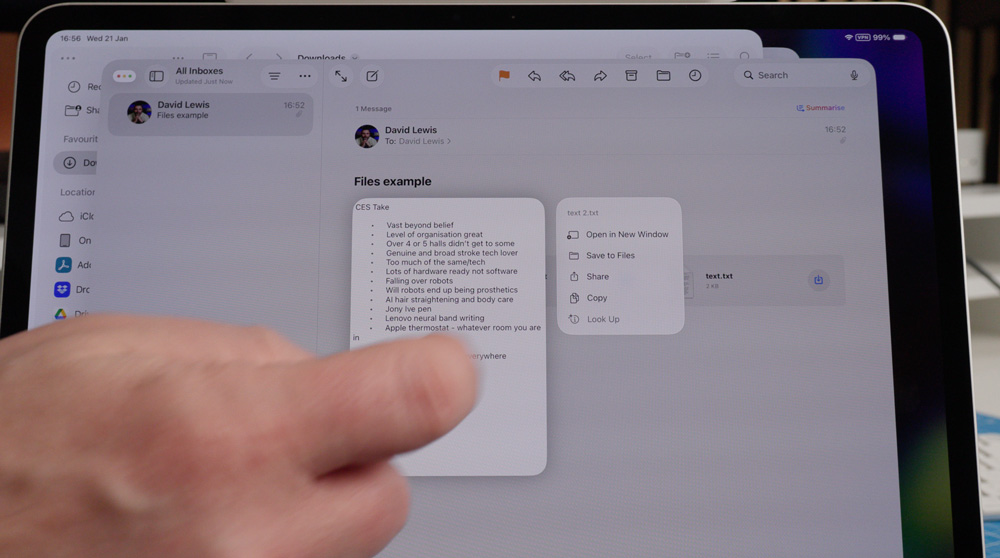
Sadly, at the moment you can only save one attachment at a time, which is something I’m hoping Apple will address in a future update, but the process of saving attachments itself is now easy enough.
Just press and hold on an attachment, and you’ll see one of the options is to save to Files, and from there to Downloads (remember that the Downloads folder is in the sidebar of your Files app). Once you’ve saved the attachment, you can then go to it and sign it, annotate it, save it to a folder or forward it…all happens from that Downloads folder!
Whilst talking email, don’t forget you can set a default mail account on your iPad too.
Most of us have more than one email address, but all you have to do to prioritise your main account is head to Settings > Apps > Mail >Default Account. Now every time you go to start an email, it’ll be from your preferred account with the email signature attached that you’ve created.
Drag and Drop
Moving files from one location to another is easy these days.
Let’s walk through how you’d move a file, say from Dropbox to iCloud. Firstly, you’ll need those two File windows open that I mentioned earlier. Then it’s simply drag and drop! It’s as easy as that!
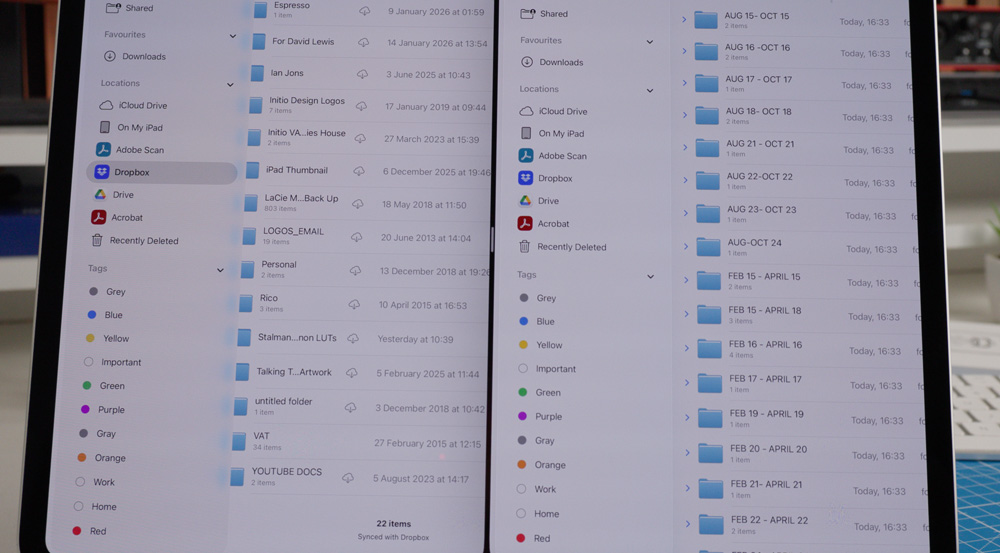
And even better is that you can do that with an external SSD as well. That fast USB-C port on the iPad Pro comes in handy for moving large files, such as movie files from your iPad onto an external SSD – drag and drop on iPad makes for a very productive workflow. No more relying on AirDrop.
At last, you don’t have to be afraid of creating large files on your iPad.
Getting personal
It’s never been easier to make your iPad feel like yours. That’s part of the fun of using an iPad.
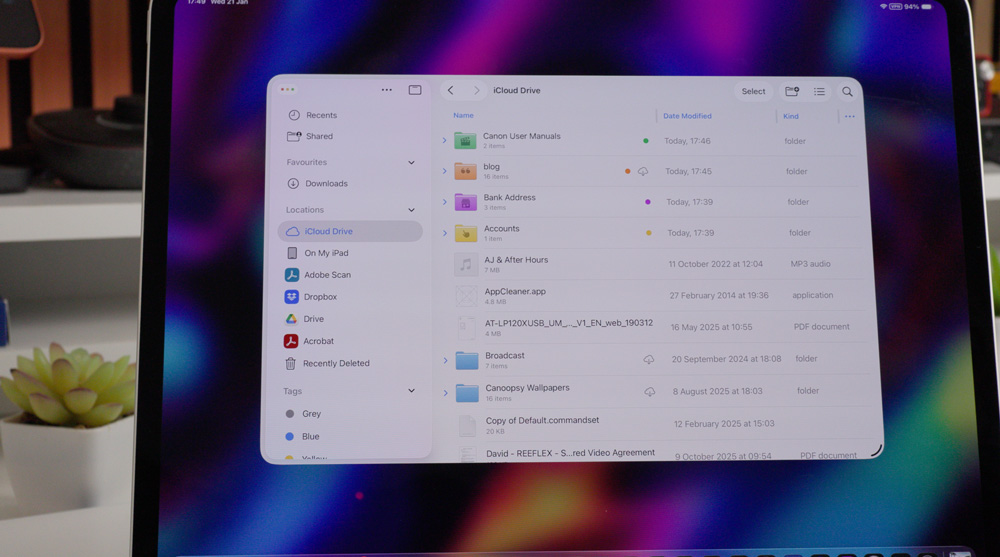
If you have a folder that you know is going to be one you want to go quickly and easily, well, now you can re-colour it with a tag, and add an emoji or icon to it. It’s surprising how much colour-coding helps get to those folders quickly. Early on, I thought it was a gimmick, but now it’s a feature I find I’m using more and more.
Anything work-related, for example, I’ve tagged with red, home is yellow, camera-related green and so on.
It’s a small quality-of-life hack that actually helps.
The third way
When Steve Jobs first unveiled the iPad, he called it a third way of working.
His vision was that the iPad should be better at certain tasks than the phone or Mac. It’s taken a while, but I think that vision has finally been fulfilled with the latest range of iPads and iPadOS 26.
As I said earlier, sometimes I just want to spend the day working differently, and at long last, the iPad gives me that choice. And although I spend most of my time using an iPad Pro, pretty much everything I’ve gone through here to do with the Files app applies to all iPads.
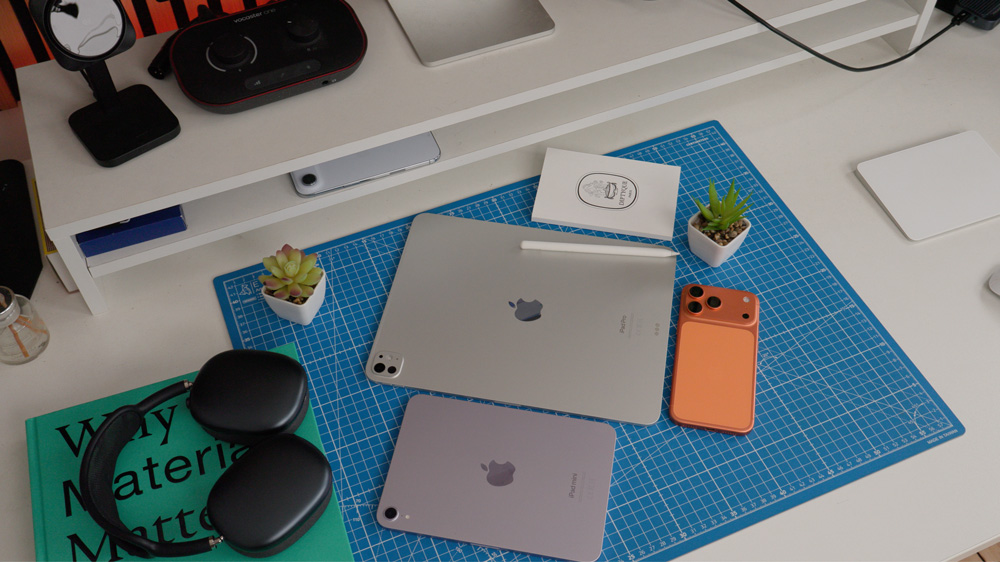
And I don’t want to hear that the iPad has too much grunt for what we mostly do on it. So do most Macs, but no one makes that argument against a MacBook. The power is there on an iPad if you should ever need it. I love how fast this thing flies around. I’m loving working on my iPad these days.
If your iPad has been gathering dust and you’ve not reached for it in a while, give it another chance. Get used to the Files app and put that gorgeous tablet to work.

One Response
The Downloads-first workflow is a helpful way to make attachments less confusing. I would add one checkpoint after signing or annotating a PDF: give the finished copy a clear filename and check that you are sharing that version, not the original attachment. For non-confidential files shared by link, testing the link while signed out helps catch recipient-access problems. Personal paperwork is better kept behind appropriate access controls rather than a public link. I work on All2URL, so this is a file-sharing workflow perspective rather than an independent product recommendation.